Duik Character Rig Workshop
One of the best parts of being at SCAD is being surrounded by artists who share their knowledge with each other. Many students host workshops about things they’ve learned outside of the core curriculum. One motion graphics skill I know is character rigging with Duik, so I wanted to share the Duik magic!
The Main Points
The main rig that I taught was a head/face rig. I chose this rig because it would allow me to teach basic sliders - anything too complicated like a full body might’ve been difficult to teach to an audience in under two hours.
Below are the main points I wanted to make sure to touch on. These points are essential to rigging:
The Limits of 2D Character Rigging
The Positives of a Rigging Workflow (Organization, easy to animate, easily editable, intuitive controls, etc.)
How to Prep Artwork for Success
Inform the Process! What actions will you need your character rig to do? Will you need an FK or IK rig? Sliders (Controllers)?
Efficient, Organized Workflow (Taking advantage of nulls, color coating layers, naming conventions, etc.)
Getting Started
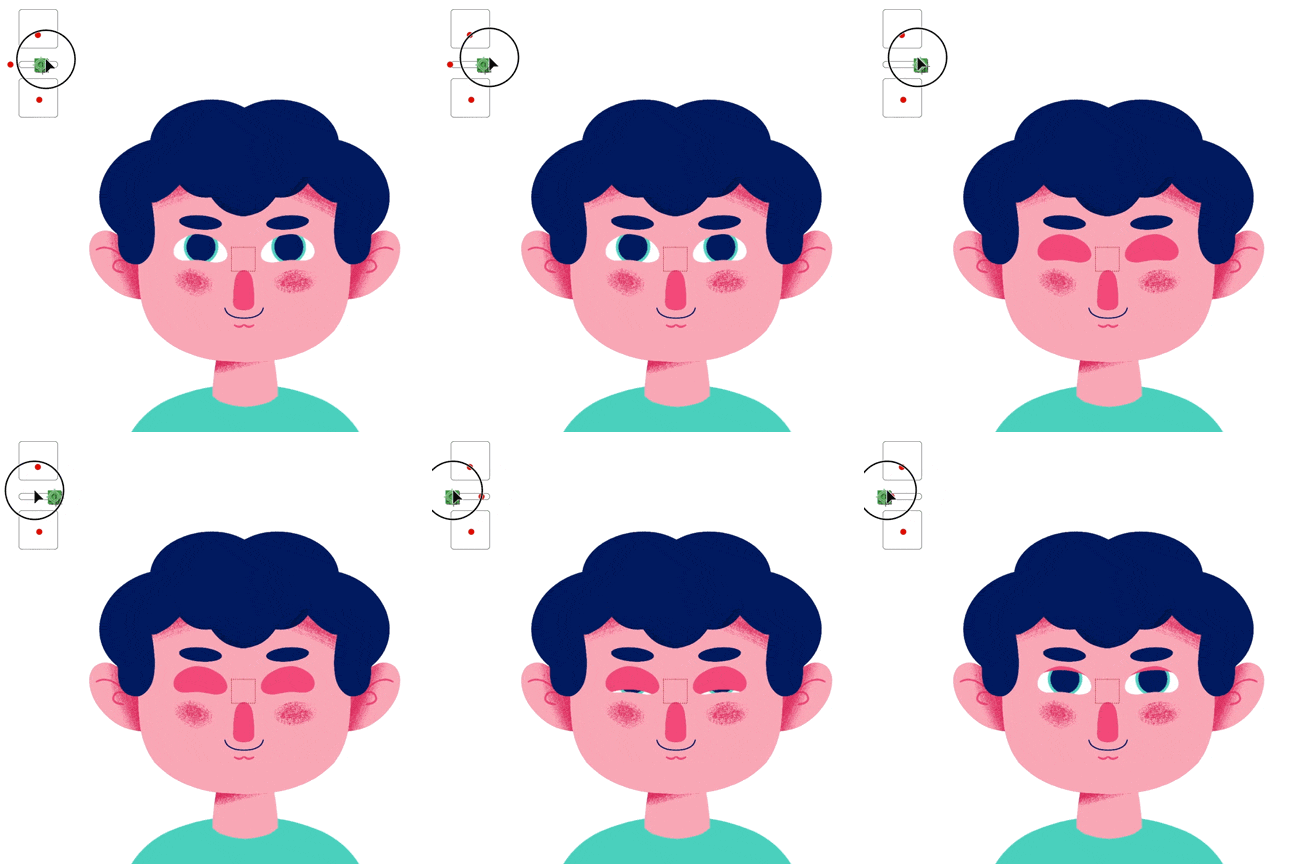
First, I created new artwork for the workshop to animate. Here is my character! The goal was to make him simple enough but still designed well (and to make him cute!). I wanted to teach how to do a matted blink control, head look control, and eyeball control. I also chose to create him in Procreate, so the students could learn how to rig a .psd file.
Designing the Character
Final Design + Background Color
The Workshop
For the workshop, I gave the file of the character, a copy of Duik, and an AE file containing my animated rig I created in advance (incase they needed to cross-reference it in the future). We worked out of the prepped AE file. The students followed along and we all had fun bringing the little dude to life!
One thing I stressed in the workshop was good organization. This includes good layer naming conventions, layer color coating, shying, hiding, and locking layers. I stressed the importance that you might rig a character, then need to pass it off to another animator. It is important to make sure the rig controls intuitive!
To animate this character, all that is needed is keyframes on 3 controller layers! More controllers can be added depending on the needs of the animation.
Overall, it was so rewarding to teach everyone this skill. It was incredible to hear students say they were now less afraid to add characters to their projects! For an example of one of my classmates’ take on animating him, please check out Anna Vallario’s page!


